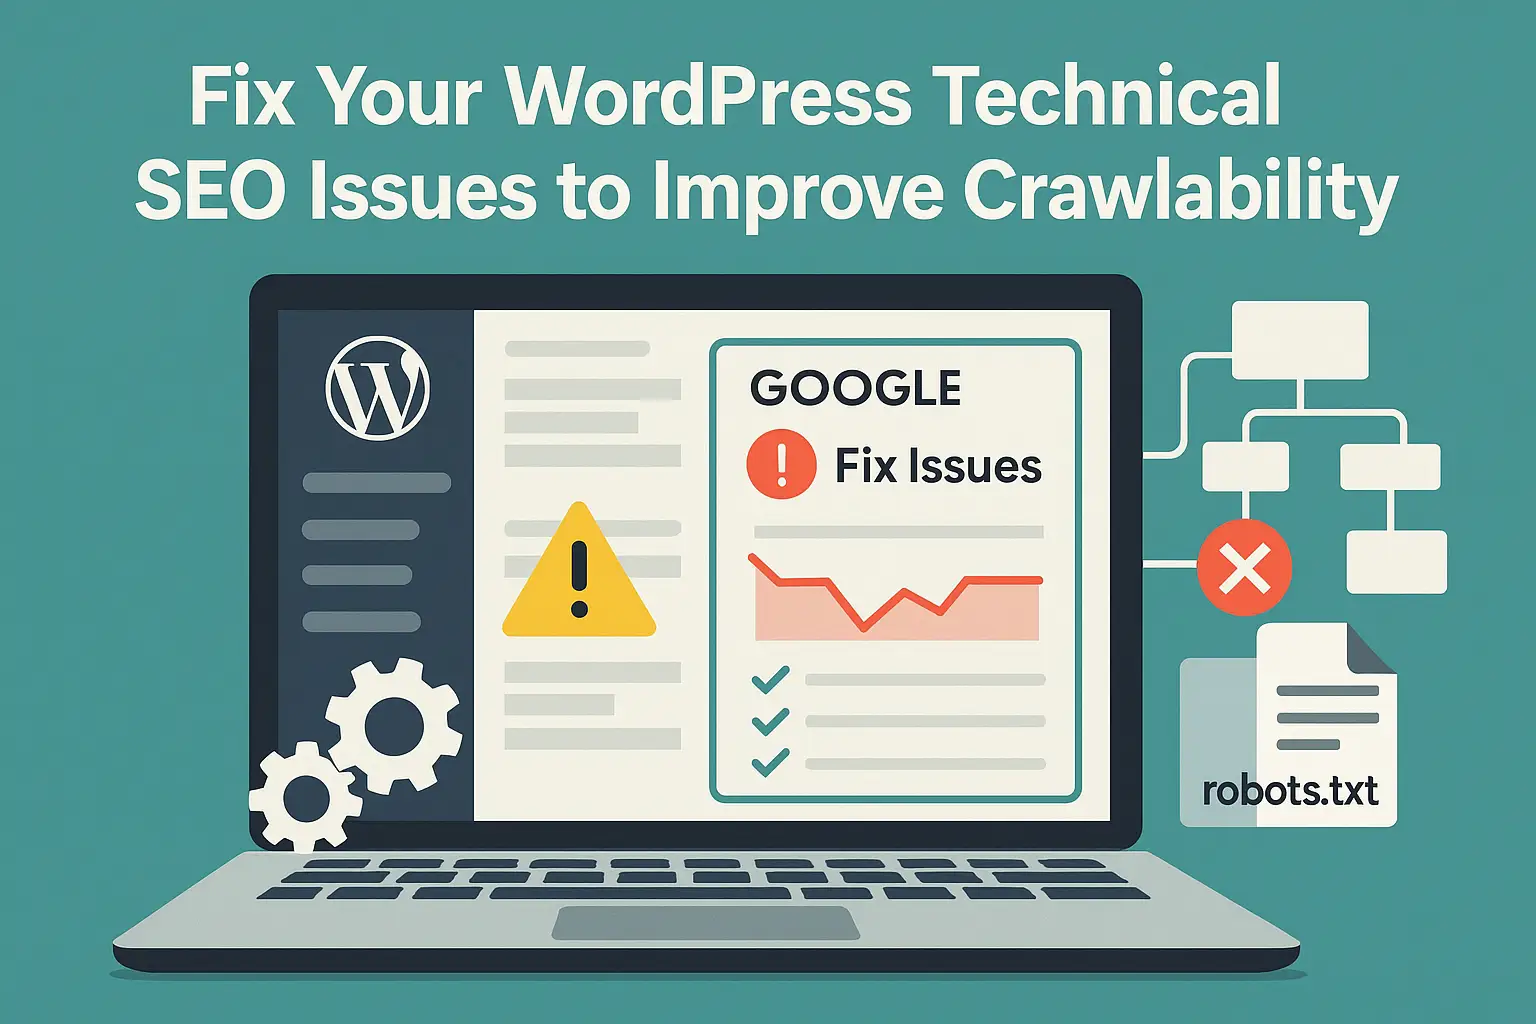
Fix WordPress Site Technical SEO Issues to Improve Crawlability
Google can’t rank what it can’t crawl.
Most WordPress websites have crawlability issues. These issues stop search engines from accessing important content. As a result, some pages stay unindexed. Others get crawled repeatedly with no SEO value.
WordPress creates many extra pages by default. Examples include feed URLs, tag pages, author archives, and pagination. These pages use your crawl budget. But they rarely bring traffic.
You must remove low-value URLs. You must guide search engines to focus on your core content.
This guide shows how to fix technical SEO issues on WordPress. You’ll learn how to:
- Clean your robots.txt file
- Disable feed and archive pages
- Convert 404 pages into 410 status
- Deindex orphaned and thin URLs
- Resubmit your sitemap
- Help Google crawl your site faster
Each fix improves crawl efficiency. Each step supports better indexing. When Google understands your site structure, it ranks you better.
Why Crawlability Matters for SEO
Crawlability controls visibility.
If Google can’t crawl a page, it won’t index it. If Google doesn’t index a page, it won’t rank it. That’s the chain.
Crawlability means allowing search engines to access and understand your content. It starts with links, continues with internal structure, and ends with index signals.
What Is Crawl Budget?
Crawl budget is the number of URLs Google crawls on your site within a given time. Large sites with many low-value pages waste their budget. Small sites with poor technical setup waste it too.
When you publish a new page, Google decides when to crawl it. If the crawl budget is low, indexing takes time. If the crawl paths are blocked or messy, indexing may never happen.
What Wastes Crawl Budget?
- Feed URLs
- Tag archives
- Author pages
- Pagination pages
- 404 pages
- Redirect chains
- Duplicate content
- Thin content
- Orphan pages
These URLs often exist by default on WordPress. Google crawls them anyway—unless you stop it.
Why Crawlability Comes First
Before you think about content, backlinks, or E-E-A-T, fix your crawlability.
A clean crawl path allows Google to:
- Understand your site structure
- Prioritize important pages
- Index fresh content faster
- Avoid crawling useless pages
- Allocate crawl budget efficiently
The goal is simple:
Let Google spend more time on what matters.
Block what doesn’t. Guide the crawler. Build a strong foundation.
Step 1: Clean Up Your Robots.txt File
The robots.txt file controls the first layer of crawl behavior.
It tells search engines which parts of your site they should crawl. It also tells them which parts to avoid. For WordPress sites, this file is critical.
WordPress creates many URLs that do not help your SEO. These include admin paths, feeds, search results, author archives, and more. You can block them using robots.txt.
How to Access robots.txt
If you’re using Rank Math, go to:
Rank Math > General Settings > Edit robots.txt
Or use FTP or your hosting file manager. The file is located in your root directory.
Recommended robots.txt Structure for WordPress
User-agent: *
Disallow: /wp-admin/
Allow: /wp-admin/admin-ajax.php
Disallow: /wp-json/
Disallow: /?s=
Disallow: /feed/
Disallow: /tag/
Disallow: /author/
Disallow: /page/
Disallow: /*/embed/
Disallow: /trackback/
Disallow: /*?replytocom
Disallow: /*.php$
Disallow: /*?*
Sitemap: https://yourdomain.com/sitemap_index.xml
Explanation of Directives
- Disallow: /wp-admin/ blocks access to backend pages
- Allow: /wp-admin/admin-ajax.php lets AJAX features work
- Disallow: /wp-json/ blocks REST API endpoints
- Disallow: /?s= blocks internal search result pages
- Disallow: /feed/, /tag/, /author/ block low-value archives
- Disallow: /.php$ prevents direct crawling of PHP files
- Disallow: /?* blocks all URL parameters (unless needed for tracking)
Add Your Sitemap
Always include your sitemap at the bottom. Use the full URL:
Sitemap: https://yourdomain.com/sitemap_index.xmlThis helps Google find your clean, prioritized URLs faster. Cleaning your robots.txt is the first technical step. It stops the crawler from wasting time.
Step 2: Disable WordPress Feed URLs
WordPress automatically generates multiple feed URLs. These include RSS, RDF, Atom, and comment feeds. Most websites don’t need them. Google still crawls them.
Feed URLs don’t bring traffic. They don’t have ranking value. They duplicate content and waste crawl budget.
You must disable them completely.
Why You Should Disable Feed URLs
- They contain no unique content
- They create multiple versions of the same posts
- They confuse Google’s crawler
- They generate low-quality crawl paths
- They appear under “Discovered – not indexed” or “Indexed, not submitted in sitemap” in Search Console
How to Disable Feed URLs in WordPress
You can add the following code to your functions.php file. Use a child theme or Code Snippets plugin to avoid breaking your site.
function disable_all_feeds_permanently() {
    status_header(410);
    header('Content-Type: text/plain; charset=utf-8');
    echo 'This feed is no longer available.';
    exit;
}
add_action('do_feed', 'disable_all_feeds_permanently', 1);
add_action('do_feed_rdf', 'disable_all_feeds_permanently', 1);
add_action('do_feed_rss', 'disable_all_feeds_permanently', 1);
add_action('do_feed_rss2', 'disable_all_feeds_permanently', 1);
add_action('do_feed_atom', 'disable_all_feeds_permanently', 1);
Why Use 410 Instead of 404
The 410 Gone status tells Google the URL is intentionally removed. It deindexes faster than a 404. Google stops crawling it sooner.
This improves crawl budget control and cleanup speed.
How to Test
Go to:
- yourdomain.com/feed/
- yourdomain.com/?feed=rss2
- yourdomain.com/comments/feed/
If you see “This feed is no longer available” with a 410 status, it works.
Step 3: Convert 404 Errors to 410 for Faster Deindexing
404 pages waste crawl budget. They stay in Google’s index queue. They signal poor site health.
Not all 404s are bad. But if the content is permanently gone, show a 410 Gone status instead. It tells Google: “This URL is removed. Don’t come back.”
Difference Between 404 and 410
- 404 Not Found = Page missing (temporarily or permanently)
- 410 Gone = Page removed permanently, on purpose
Google treats 410 as a stronger signal. It drops the URL from the index faster.
When to Use 410
Use it for:
- Old URLs from deleted pages
- Pages you don’t plan to bring back
- Thin or duplicate content you’ve removed
- Fake or hacked URLs showing up in your 404 logs
- Broken URLs with no redirect destination
First: Identify 404 URLs
Use Rank Math’s 404 Monitor:
- Go to Rank Math > 404 Monitor
- Set it to “Simple” or “Advanced” mode
- Track recurring 404s
- Export the list
Also check GSC:
Search Console > Pages > Not Indexed > 404
Second: Add 410 Status for Specific URLs
Paste this code into functions.php (or Code Snippets plugin):
function custom_410_for_specific_urls() {
    if (preg_match('/(old-url-1|old-url-2|example-url)/', $_SERVER['REQUEST_URI'])) {
        status_header(410);
        exit;
    }
}
add_action('template_redirect', 'custom_410_for_specific_urls');
Replace old-url-1, old-url-2, etc. with actual slugs.
For example:
preg_match('/(old-blog-post|unused-page|feed-url)/'This turns those URLs into hard 410s. Google will stop crawling and drop them from the index.
Step 4: Remove Old Redirects & Thin Content
Redirects help users and search engines reach the right content. But too many redirects can create crawl traps. Redirect chains waste crawl budget. Redirect loops confuse Googlebot.
You must audit and clean your redirects regularly.
Why Old Redirects Cause Problems
- They keep dead URLs alive
- They slow down crawling and indexing
- They create unnecessary crawl paths
- They hide broken content issues
- They make your site look outdated in Google’s eyes
First: Audit Existing Redirects
Use plugins like:
- Rank Math > Redirections
- Redirection (by John Godley)
Check for:
- Redirect chains (URL A → B → C)
- Redirect loops (URL A → B → A)
- Redirects pointing to non-existent pages
- Redirects created years ago for no longer relevant URLs
Export your redirects and review them manually. Prioritize clarity over quantity.
Second: Delete Unnecessary Redirects
If the original content no longer exists and has no replacement:
- Remove the redirect
- Apply a 410 status instead (see previous section)
If the content was thin, duplicated, or outdated:
- Don’t redirect just to keep traffic
- Improve internal linking and content structure instead
Redirect only when:
- The intent is similar
- The destination page offers real value
- The redirect fits the user journey
Third: Monitor Your Site After Cleanup
After cleaning redirects:
- Use GSC > Coverage > Excluded to monitor dropped URLs
- Use Rank Math 404 Monitor to track broken incoming links
- Add 410 rules for URLs you removed permanently
Fewer redirects = cleaner crawl paths.
Cleaner crawl paths = more efficient indexing.
Step 5: Deindex URLs Outside Your Sitemap
Your sitemap tells Google what to index. Anything outside your sitemap is not a priority. If Google indexes pages not listed in your sitemap, it means crawl budget is wasted.
You must find these URLs and deindex them.
Why This Step Matters
- Google often indexes:
- Old or deleted pages
- Feed and search pages
- Tag or author archives
- Parameter-based URLs
- Test or staging URLs
These pages don’t bring traffic. They confuse Google’s understanding of your site. They damage topical authority.
First: Identify Indexed URLs Outside Your Sitemap
Open Google Search Console.
Go to:
Pages > Indexed, not submitted in sitemap
These are URLs Google has crawled and indexed without your approval.
Look for:
- ?s= search result pages
- /tag/, /author/, /feed/
- /page/2/, /trackback/, or /embed/
- Any URL not listed in your sitemap
Export the list.
Second: Remove Them Using URL Removal Tool
Use Google’s official tool:
👉 https://search.google.com/search-console/remove-outdated-content
Submit the unwanted URLs manually or in bulk.
This sends a clear signal to Google that these pages are no longer valid.
Third: Block Them from Crawling Again
To prevent reinclusion, you must:
- Add them to robots.txt if you haven’t already
- Set noindex meta tags via Rank Math (covered in next section)
- Monitor new indexed pages weekly
Fourth: Keep Your Sitemap Clean and Focused
Your sitemap should only include:
- High-quality posts and pages
- Important category pages (if used for SEO)
- URLs that match your intent clusters
Remove:
- Tags, feeds, paginations, attachments, custom post types you don’t use
Every indexed URL tells Google something about your site.
If the message is unclear, your rankings will suffer.
Step 6: Block Low-Value Pages from Indexing
WordPress generates many low-value pages automatically. These include:
- Author archives
- Tag archives
- Date-based archives
- Paginated URLs (e.g. /page/2/)
- Attachment pages
- Empty category or taxonomy pages
These pages do not help your rankings. They create thin content. They confuse Google’s understanding of your site structure.
You must block them from indexing.
First: Use Rank Math to Noindex Archive Pages
Go to:
Rank Math > Titles & Meta > Misc Pages
Now set the following:
- Date Archives → Noindex
- Author Archives → Noindex
- Search Results Pages → Noindex
- 404 Pages → Noindex
- Paginated Pages → Noindex
This tells Google to crawl but not index these pages.
Second: Noindex Tags and Categories
If your tags and categories do not add SEO value, deindex them too.
For Tags:
- Go to Rank Math > Titles & Meta > Tags
- Set “Robots Meta” to noindex
- Then go to Posts > Tags
- Select all unused tags → Bulk Delete
For Categories :
- Go to Rank Math > Titles & Meta > Categories
- Set “Robots Meta” to noindex
- Keep them indexed only if you use category pages for ranking or navigation
Third: Avoid Crawling Useless Variations
Make sure you’ve already blocked the following in your robots.txt:
Disallow: /page/
Disallow: /tag/
Disallow: /author/
Disallow: /*?s=
Disallow: /*?replytocom
This blocks crawl paths from being created in the future.
Every indexed page should serve a purpose.
Pages that exist just because WordPress generated them should not stay in the index.
Step 7: Resubmit a Clean Sitemap
After removing low-value pages and fixing crawl paths, you must resubmit your sitemap. This step helps Google re-evaluate your site structure and prioritize important URLs.
A clean sitemap is your official signal to Google:
“These are the pages I want indexed.”
First: Remove the Old Sitemap
Go to:
Google Search Console > Sitemaps
- Find your existing sitemap (e.g., sitemap_index.xml)
- Click the 3 dots or options button
- Remove it from your account
This clears cached versions of old URLs Google might still be referencing.
Second: Wait 8–10 Hours (Optional, But Recommended)
Many SEOs report better results after waiting 8–10 hours before resubmitting. This allows Google to flush outdated entries from its memory.
You can skip this step, but it’s part of a safer reset process.
Third: Submit the New Sitemap
- Return to Search Console > Sitemaps
- Enter the new sitemap URL:sitemap_index.xml
- Click Submit
Make sure your new sitemap includes only valuable, index-worthy pages:
- Posts
- Pages
- SEO-relevant categories (if used)
Exclude:
- Tags
- Attachments
- Pagination
- Archives
Fourth: Monitor Submission Status
Check for:
- Crawl status
- Discovered URLs
- Indexing errors
Use Rank Math > Sitemap Settings to customize your sitemap content.
Uncheck any post types or taxonomies you don’t want indexed.
Your sitemap is your blueprint.
Clean it. Submit it. Let Google recrawl your site with the correct structure.
Step 8: Validate Indexing Issues in Google Search Console
After cleaning your site and submitting a fresh sitemap, you must prompt Google to re-evaluate previously ignored pages. Google often delays indexing even after technical issues are fixed.
You can accelerate the process by using the “Validate Fix” feature inside Google Search Console.
First: Open the “Pages” Report in GSC
Go to:
Google Search Console > Pages
You’ll see multiple indexing statuses. Focus on the following two:
- Crawled – currently not indexed
- Discovered – currently not indexed
These pages were found by Google but not indexed due to crawl budget limits or low-quality signals.
Second: Check Why These Pages Are Not Indexed
Click on each status group.
Review the list of affected URLs.
Ask:
- Do these URLs exist in your sitemap?
- Do they have proper internal links?
- Are they unique and valuable content?
- Are they now free of crawl traps, feed links, or redirect chains?
Fix anything that’s still wrong before continuing.
Third: Click “Validate Fix”
For each indexing issue:
- Click the “Validate Fix” button
- Google will start a validation process
- It will re-crawl the affected URLs over the next few days
If the problem is solved, the URLs will enter the index.
If not, they’ll remain excluded – and you may need to optimize them further or deindex them manually.
Fourth: Monitor Progress
Return after 2–5 days.
Check validation status.
You may see:
- Validation started
- Fixed
- Still affected
Repeat the fix-and-validate cycle for all relevant indexing errors.
Fixing crawlability is not a one-time task.
Validation ensures Google acknowledges the improvements you’ve made.
Step 9: Identify and Fix Keyword Cannibalization
Keyword cannibalization happens when multiple pages compete for the same search query. It confuses Google. Instead of ranking the best page, Google splits the value across several.
This hurts your rankings.
Most WordPress websites face this problem. It usually comes from:
- Duplicate content
- Similar post titles
- Tag and category overlap
- Auto-generated archives
You must identify these conflicts and fix them.
First: Use Google Search Console
Go to:
Performance > Search Results > Queries
Click on a query that is important to your business.
Then click the “Pages” tab.
You’ll see all URLs that rank for that keyword.
Ask yourself:
- Are there 2 or more pages targeting the same intent?
- Is the traffic and CTR split between them?
- Do some of these pages have low engagement?
If yes, you’re facing cannibalization.
Second: Decide Which Page to Keep
Choose the most relevant, highest-quality page.
This will be your primary page for that keyword.
Now check the others:
- Do they offer unique value?
- Or are they thin, outdated, or overlapping?
Third: Take Action
For overlapping pages:
- Merge content: Combine into the primary page
- Redirect: Use 301 redirect to send signals to the main page
- Deindex: Set noindex if the page has temporary or duplicate content
- Update metadata: Make the topic of each page more distinct
Fourth: Remove Tags and Categories That Cause Conflict
Tags and categories often create duplicate URLs.
If you don’t use them for navigation or SEO:
- Set them to noindex in Rank Math
- Go to Posts > Tags and bulk delete unused tags
- Avoid using the same keyword in both post titles and categories
Cleaning up cannibalization ensures each keyword has one strong page.
It helps Google understand your content structure.
And it boosts your rankings for target queries.
Step 10: Optimize Your Website Speed for Better Crawlability
Google rewards fast websites. If your pages are slow, crawlers can’t access all your content. And users bounce before reading.
Website speed directly impacts crawl budget, indexation, and rankings.
Why Speed Matters
- Crawl Efficiency: A faster site lets Googlebot crawl more pages in less time.
- User Experience: Visitors stay longer, engage more, and convert better.
- Indexing: Slow-loading pages may stay in “Discovered – currently not indexed” status for weeks.
First: Check Your Speed
Use these tools:
- Google PageSpeed Insights
- GTmetrix
Check your:
- Homepage
- Core service pages
- Blog posts
- Mobile and desktop versions
Focus on LCP (Largest Contentful Paint) and TTFB (Time to First Byte).
Ideal goals:
- LCP under 2.5 seconds
- TTFB under 200ms
- Total page size under 1.5MB
Second: Use Lightweight Themes and Plugins
Heavy themes slow down your site. Switch to fast, SEO-friendly options like:
- GeneratePress
- Astra
- Kadence
Avoid plugins that:
- Load unnecessary scripts on all pages
- Duplicate functions
- Add external tracking without control
- Always test your site after installing new plugins.
Third: Optimize Core Web Vitals
Use PageSpeed recommendations:
- Enable lazy loading for images and videos
- Use WebP format for images
- Minify and combine CSS & JS files
- Preload important fonts
- Defer non-critical JavaScript
If you’re not a developer, install optimization plugins like:
- WP Rocket or FlyingPress
- Perfmatters for script control
- Autoptimize for CSS/JS minification
Fourth: Use a Fast Hosting Provider
Cheap hosting = slow crawl + bad user experience.
Use managed WordPress hosting:
- Cloudways
- Rocket.net
- Kinsta
- SiteGround
Choose servers close to your target audience.
Fifth: Implement Caching and CDN
Enable page caching using WP Rocket or LiteSpeed Cache
Use browser caching to store static files
Use a CDN (Content Delivery Network) like Cloudflare or BunnyCDN to serve content globally
Sixth: Monitor and Improve Continuously
After all changes:
Recheck your site using PageSpeed and GTmetrix
Use Search Console > Crawl Stats to see improvement
Watch for drops in “Crawled – currently not indexed”
Speed optimization isn’t a one-time task. It’s a foundation.
A faster WordPress site boosts crawlability, indexation, and SEO performance.
Fixing your WordPress technical SEO isn’t optional – it’s the foundation of your site’s visibility.
When Google can’t crawl or index your content properly, even the best content won’t rank.
Take action now.
Fix the basics.
Then grow with confidence.
This guide is detailed, but I get it – not everyone has the time.
If you’d rather focus on your business and let a pro handle the messy stuff,
I offer a done-for-you service. Let’s chat.

I’m the founder of MetroRanks, a Local SEO agency helping service-based businesses grow through trust-building SEO and AI-powered marketing systems. With over 6 years of hands-on experience in web development, Local SEO, and digital strategy, I focus on what actually matters for local businesses – more leads, higher rankings, and long-term stability without the fluff or gimmicks.